How to edit this Website
This is the home page (it may look different by the time you read it)
Notice on the top blue bar the words “Admin Login”. Click the link and enter your login details
Then you get this horrific screen, but DON’T PANIC.
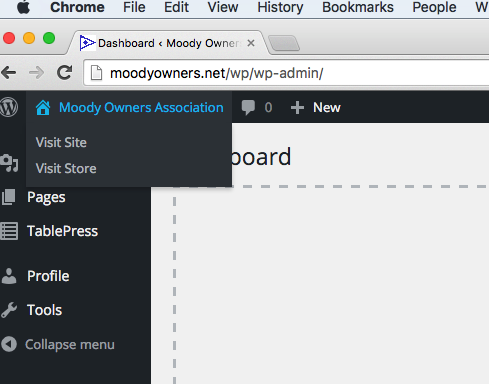
On the top black bar there are the words “Moody Owners Association” in white.
Hover over and you get a short drop down menu containing the words “Visit Site”. Click this and it returns you to the website home page with the black bar above
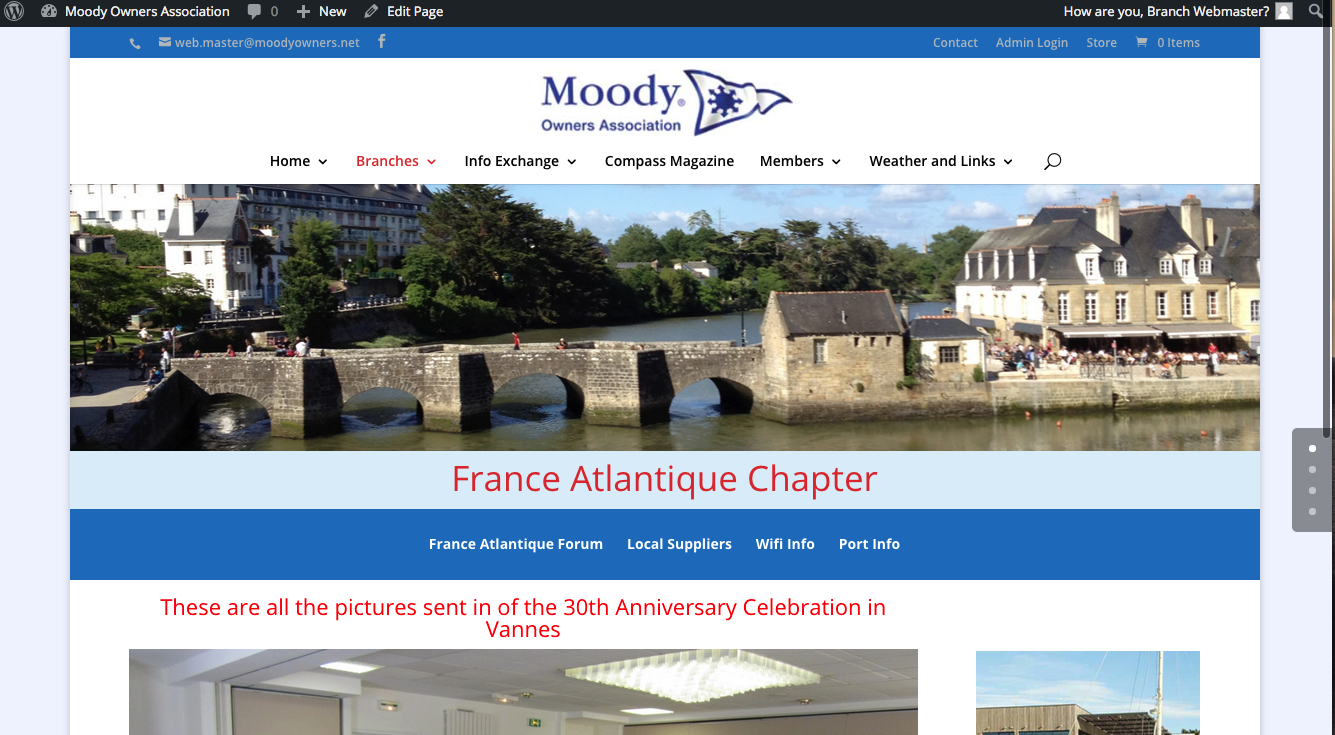
This brings you back to the Home Page – Now we are rocking!
Looking at the logged in screen
Notice the grey bar on the right of the page with the white dots? This tells you how far you have scrolled down the page
Navigate to the page you wish to edit using the normal menus – notice the “Edit Page” link on the black bar
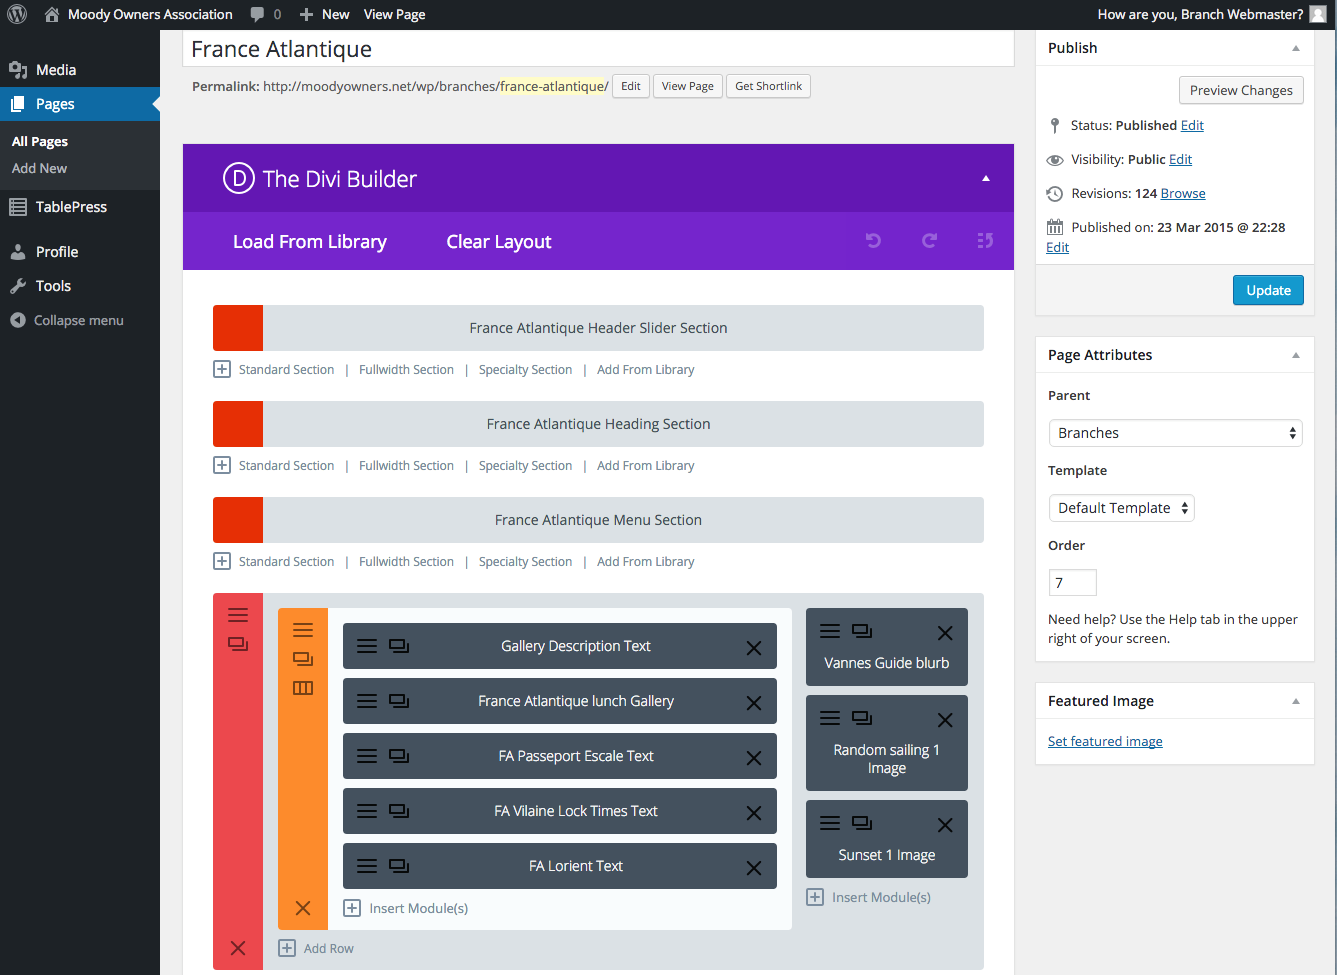
Click it then you will see another horrific page – again don’t panic
Description of Edit Screen
Divi Builder
The top purple area “Divi Builder” and its options are out of bounds – use them at your peril!!!
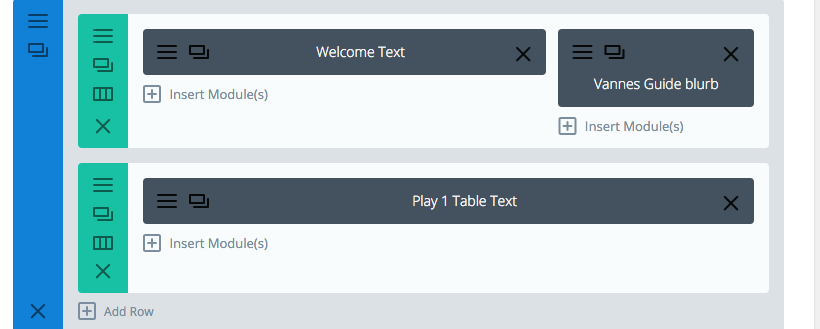
Rows
The rows you see are called “Sections” and you might observe the little + sign and the links “Standard Section …. etc”. This is how you add website sections and is very useful to separate larger areas of the page.
We will leave Sections until later and just concentrate on editing what is there
Modules and Module Types (Dark Grey)
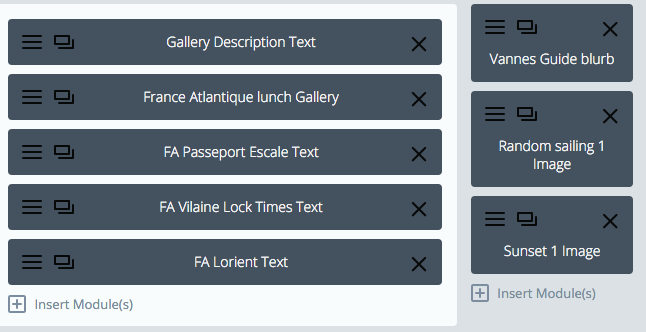
The bits you want to edit are the Dark Grey ones – these are the modules which are clearly marked and refer to editable areas on the page.
Each one is titled with what it does and the last word refers to the module type. There are many different types available which you will discover when you add more modules to your page.
For example “Vannes Guide blurb” is a type of module called a “Blurb” which is a combination of an image and text. “Gallery Description Text” is a module type “Text” which may be styled inside the module.
How to edit a module
Modules are the dark grey bits above. To edit the contents press this icon
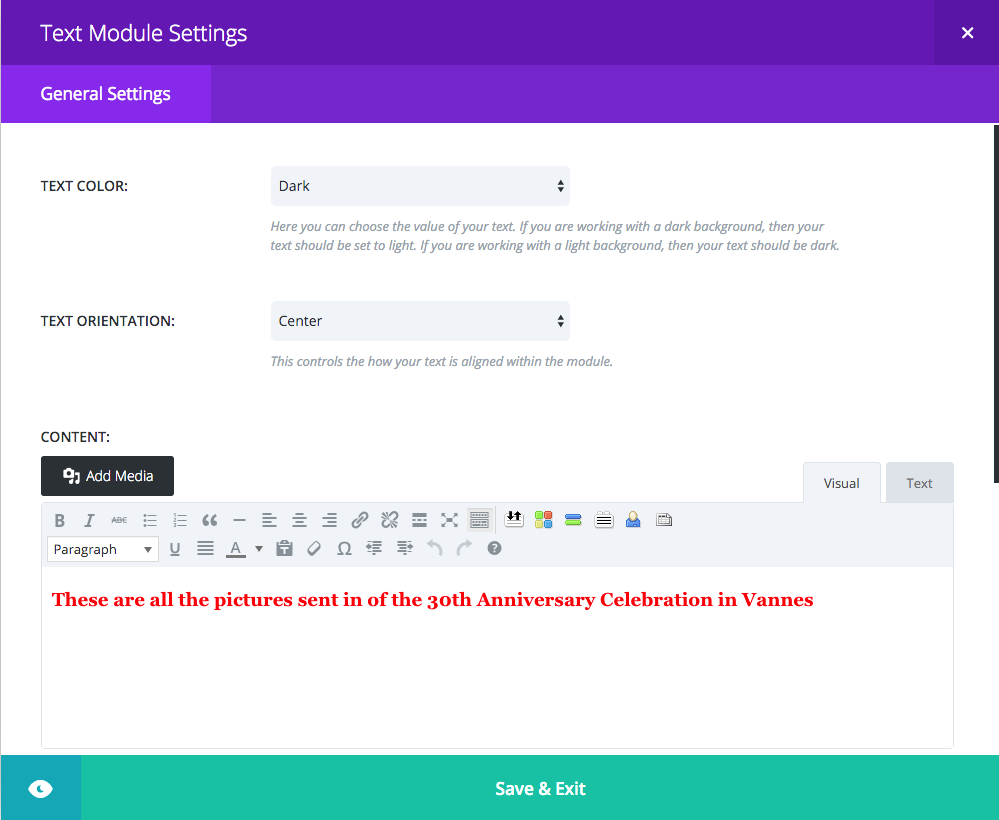
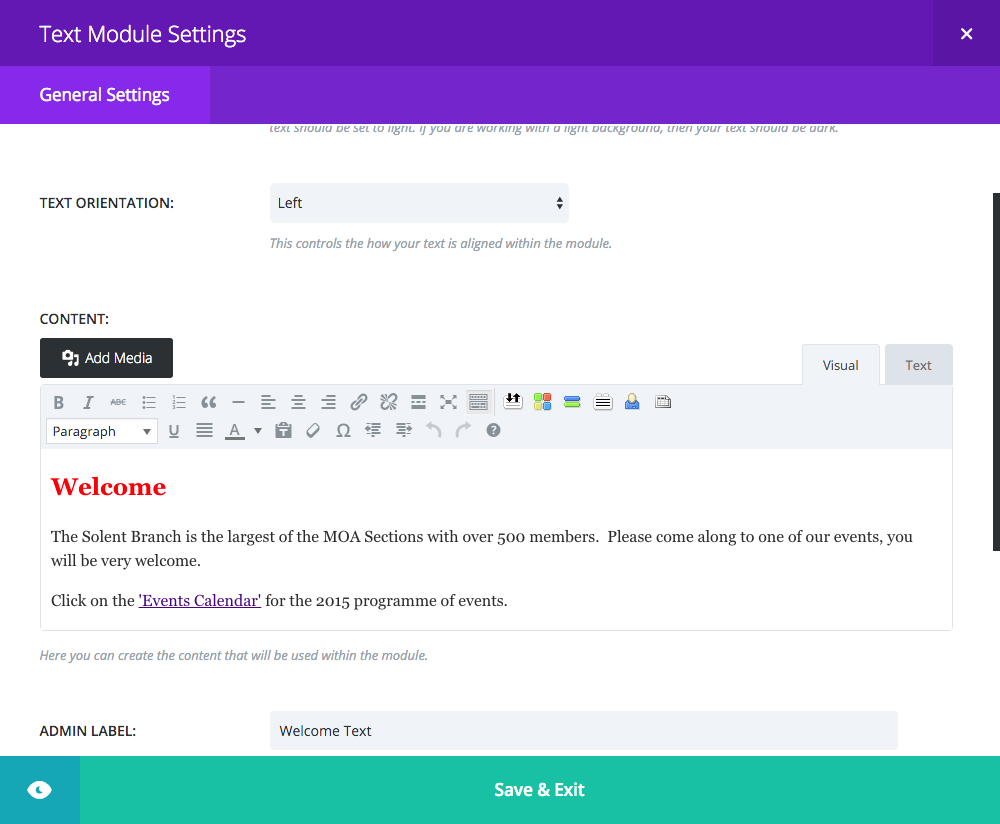
 which brings up a central screen like this one
You can scroll within the module using the up and down keys on your keyboard (the mouse doesn’t work so well on my Mac)
At the top of the module is a selector for text colour – the options are dark or light. If you module has a dark background select light, otherwise select dark. The toolbar settings override this.
Text orientation allows you to select Left, Centre, Right or Justified for all the text in the module. Again the toolbar settings below override this
Within the text module there is a toolbar for formatting text and entering various elements.
The toolbar elements are simple – you need to play with them but a few useful ones are these:
B means Bold, I is Italics, U for underline
The dropdown box which has “Paragraph” in it is the styles selector, with paragraph being the normal one for information, and Headings 1 – 6 for emphasis
paragraph
Heading 1
Heading 2
Heading 3
The underlined A and dropdown selects the colour of the text – please only use black, white, blue or red
Other icons you may find useful
 This enables you to insert a link. It can be to within the site, an external site, or an email address
 Firstly select the text you wish to link
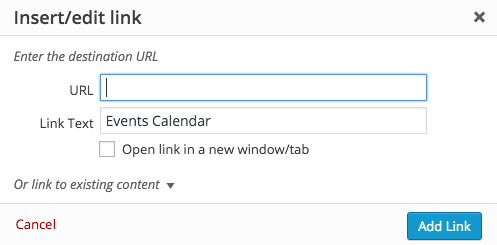
Then click the link icon  to see this screen
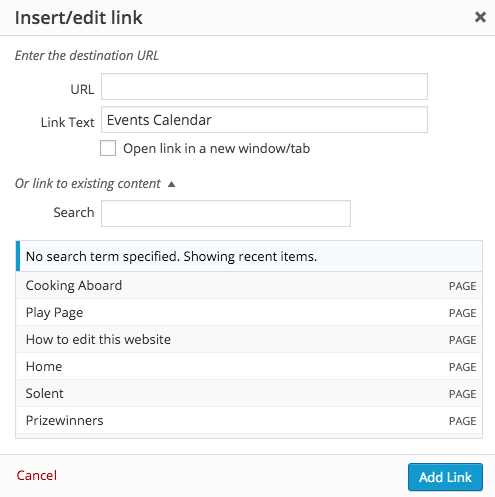
I am going to link it with the Solent Branch Events Calendar which is a page, so I click the small down arrow after “Or link to existing content”. The box expands
Scrolling down all the pages on the website, we come to Solent Events Calendar, which I click and then press the button Add Link
Save and Exit and the job is done
To link to an external website address, paste in the URL (address in the appropriate box)
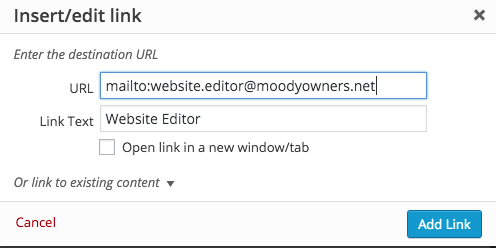
To insert an email link requires you to enter a simple command eg
Note the Link Text is what is displayed on the page
 This one takes you to an option called TablePress which is incredibly useful for entering the tables we all use listing boats attending, contacts etc
 This one allows you to insert a picture or a document into the module
Both the above options will be covered later
Previewing and Saving your work
At the bottom of the module editor is a greenish bar – the little eye symbol lets you preview your section and the Save and Exit bar just does that but beware, you have not yet published your work on the page.
To publish the page you need to look to the top right of the whole edit screen where there is another pane
The light grey button previews and changes you have made. If you have not changed anything significant, this button won’t result in a preview, the best thing is to UPDATE your page which changes it to the way the members will see it. Press the blue button to do that
To actually see your page quickly – look at the top of the Edit Page after you have pressed UPDATE and you will see a View Page link – click that. If you are presented with a question asking if you want to leave the page, you have forgotten to Update the page, so leaving the page abandons your edit and if you agree you will lose all your hard work – so click stay on page then the Update button again
Another module the “Blurb”
This is quite versatile, allowing a title, a link to an internal page or an external page, it uses an image and gives other options. Have a play to see what you can do with it.
The theme on which this website is built is called Divi by Elegant Themes
This link takes you to their documentation page. If you click on any topic (not all are available to you in our website) then you will find an explanation and often a video to watch
http://www.elegantthemes.com/gallery/divi/documentation/
Working With Tables
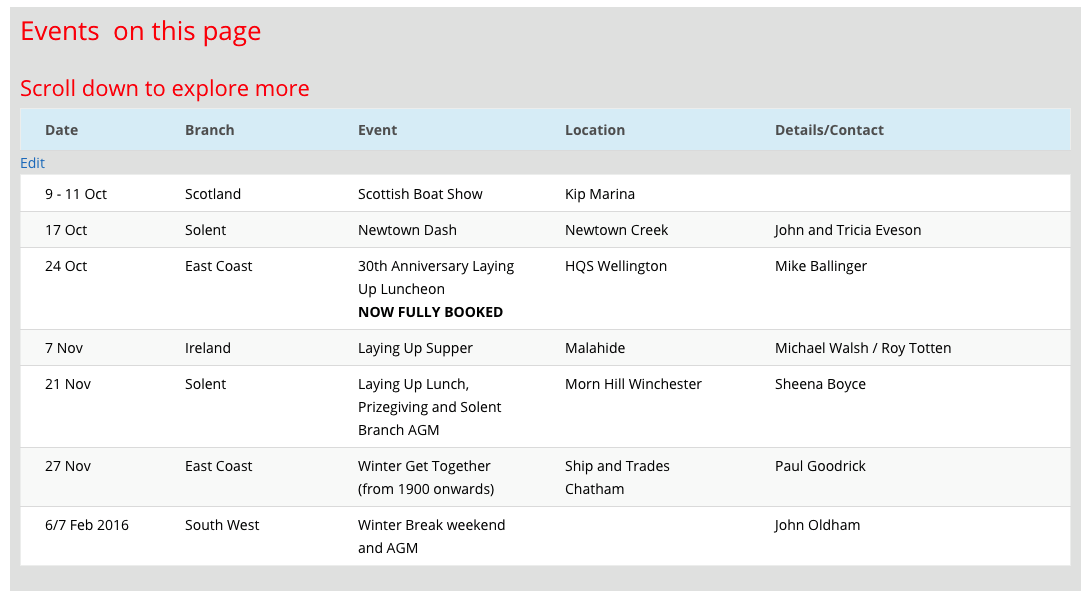
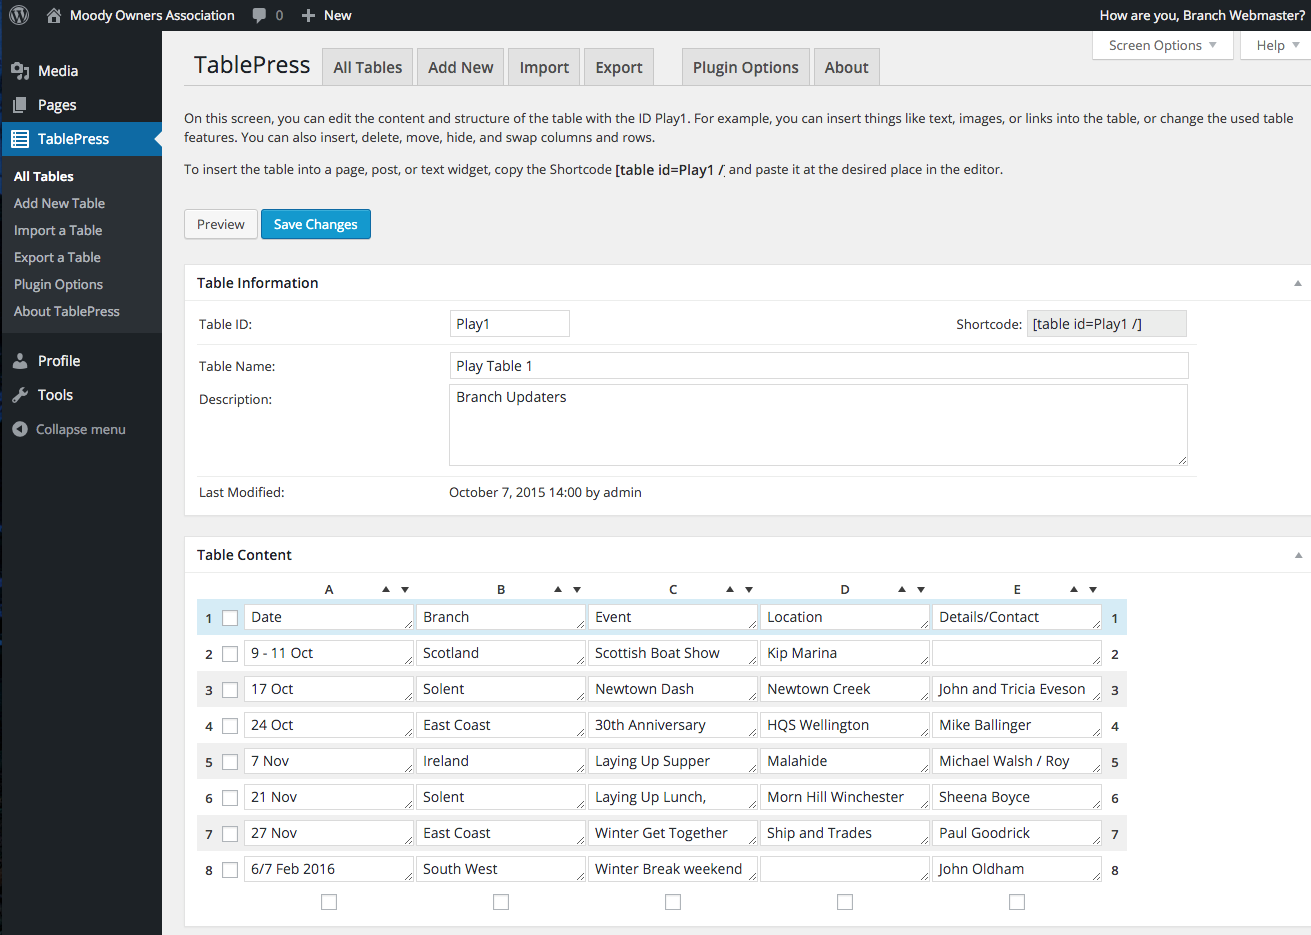
Here is a typical table
Note the small “Edit” word in blue just between the table heading rows and the first row
Click that and you get into the Table Editor
You can edit cells, add and delete rows and columns – just look at the Table Manipulation pane below the row editor
Below that are 2 other panes called Table Options and Features of the DataTables JavaScript Library
Please ensure any new tables you create have the same settings as below
Media Library and folders
To use pictures and documents within your web pages you need to use the media library. To see it you can go directly from the Edit Page screen, or if you are viewing the whole site via the Dashboard accessed from the top white on black menu – hover over the Moody Owners Association words and you will see the option Dashboard. Click it
You go to this fairly unhelpful screen
Fear not – actually the bit on the left is your shortcut to 3 things, but lets just concentrate on Media
Just click the Media link to bring up the Media Library
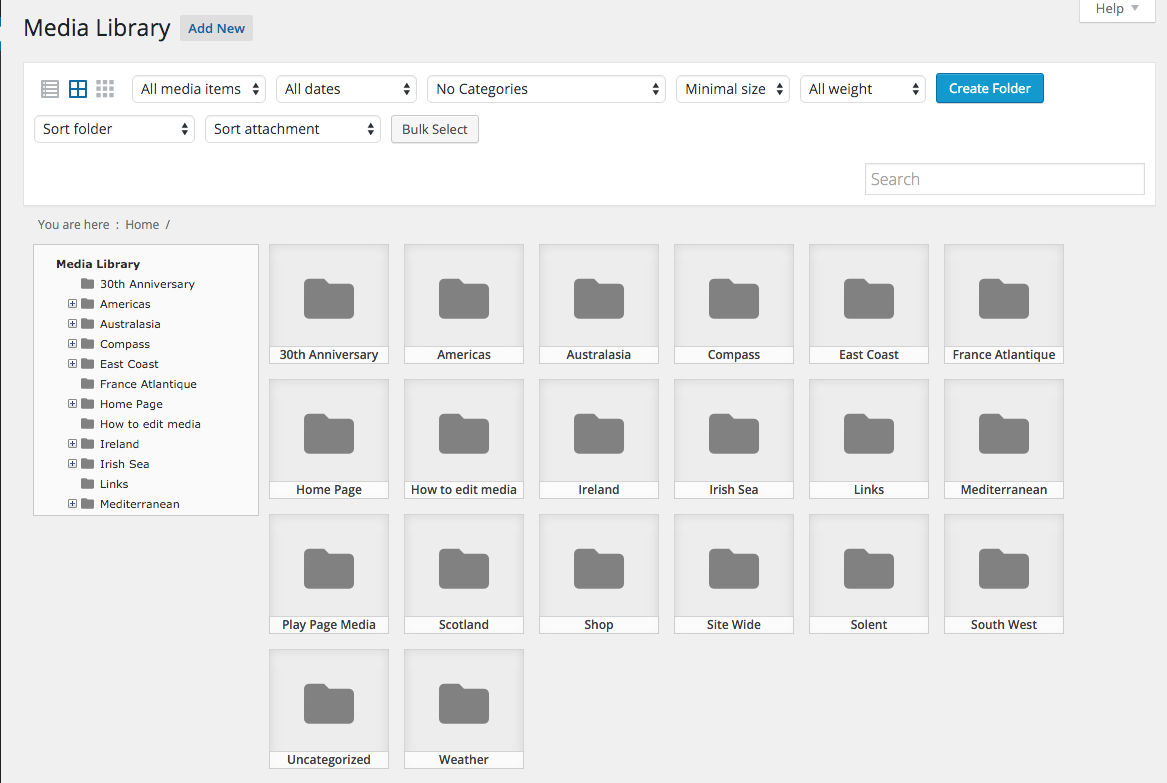
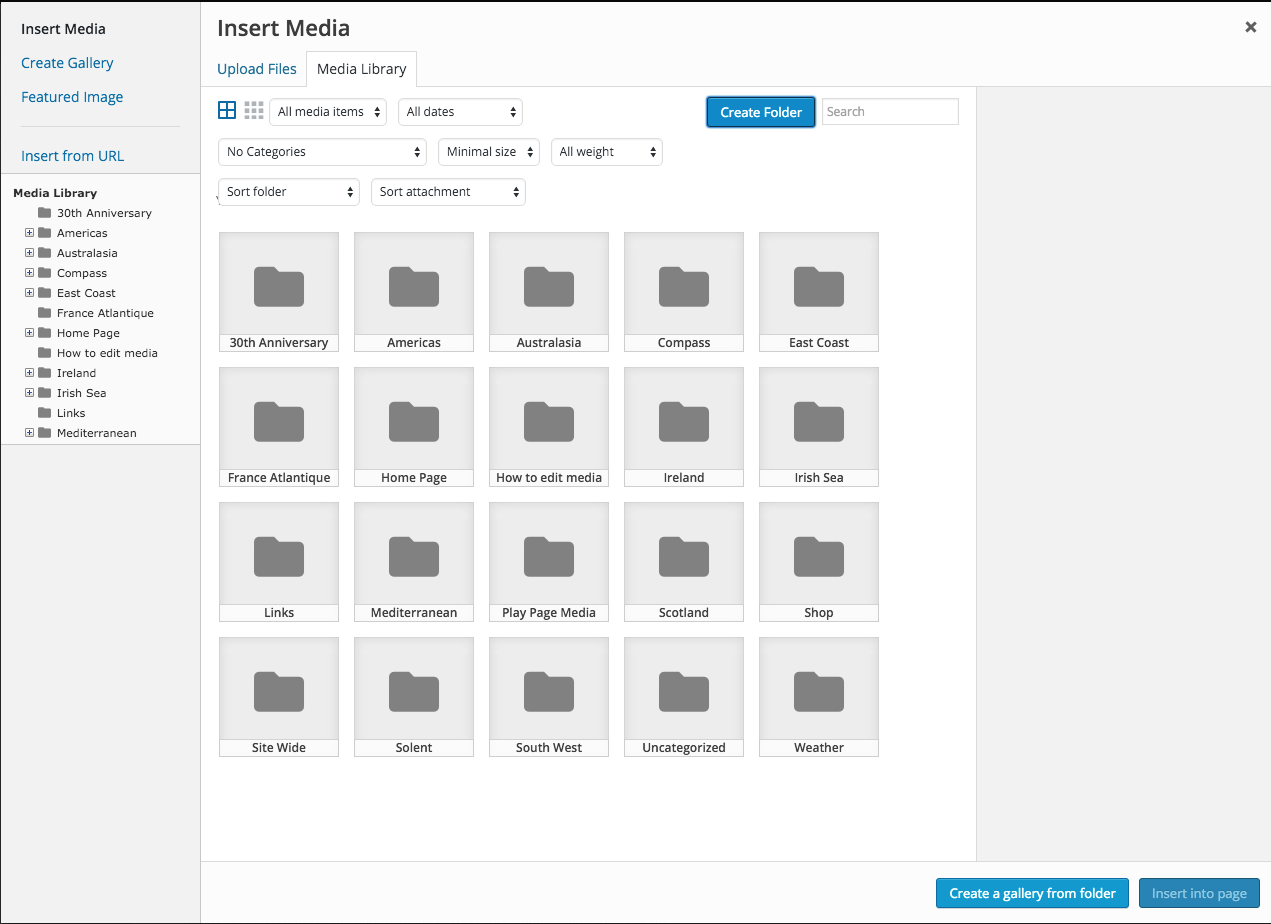
This is very important since it allows each branch to have their own folders and separate out the images, thus:
The folder structure is self evident. Click on an icon to go to that folder – this is not instantaneous because all information comes from the MOA server and is not on your local machine
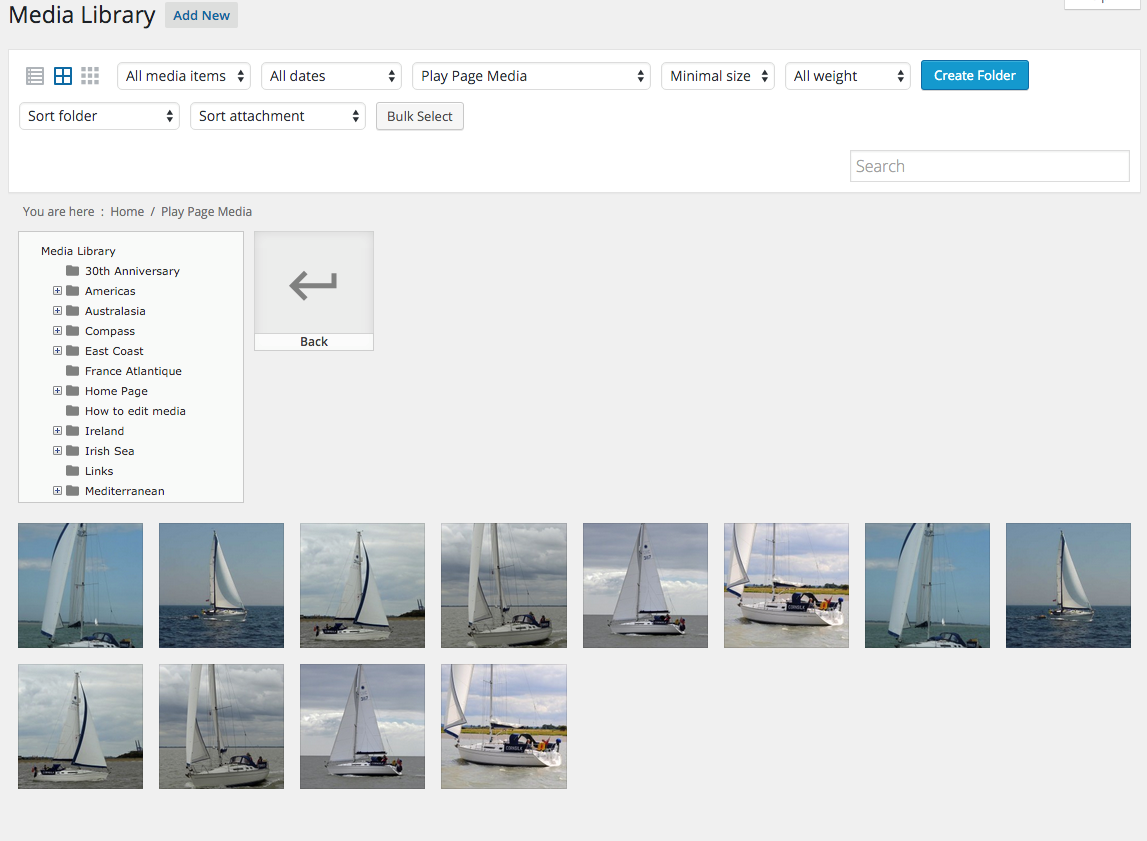
Clicking on Play Page Media brings up this
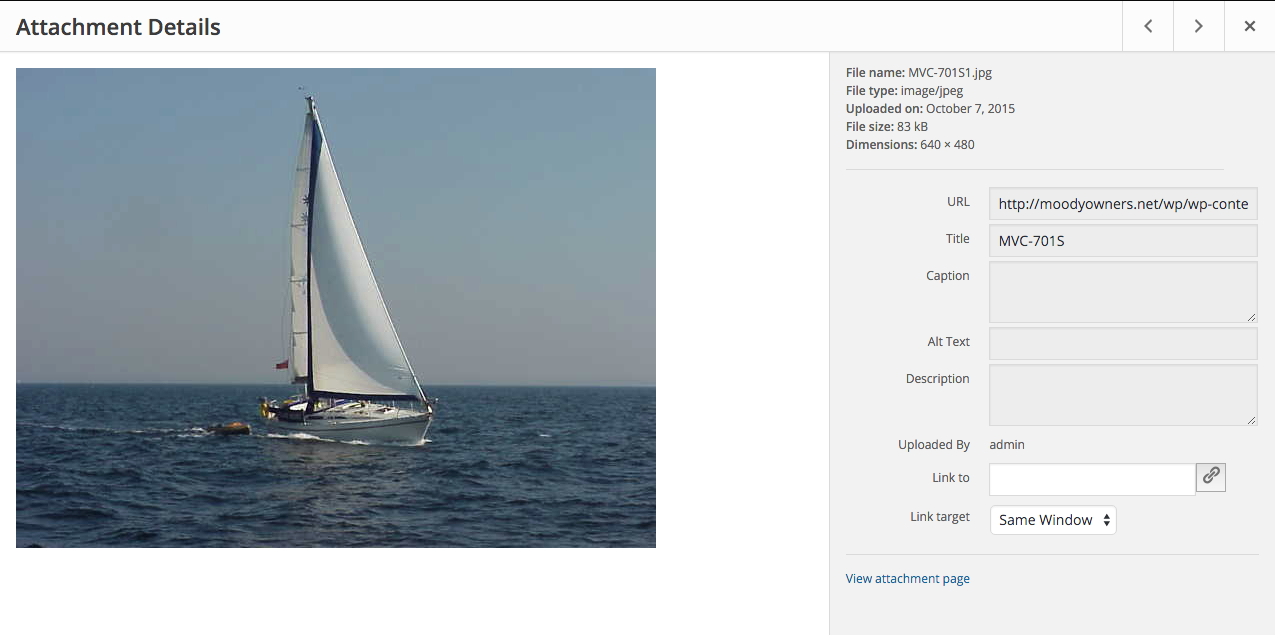
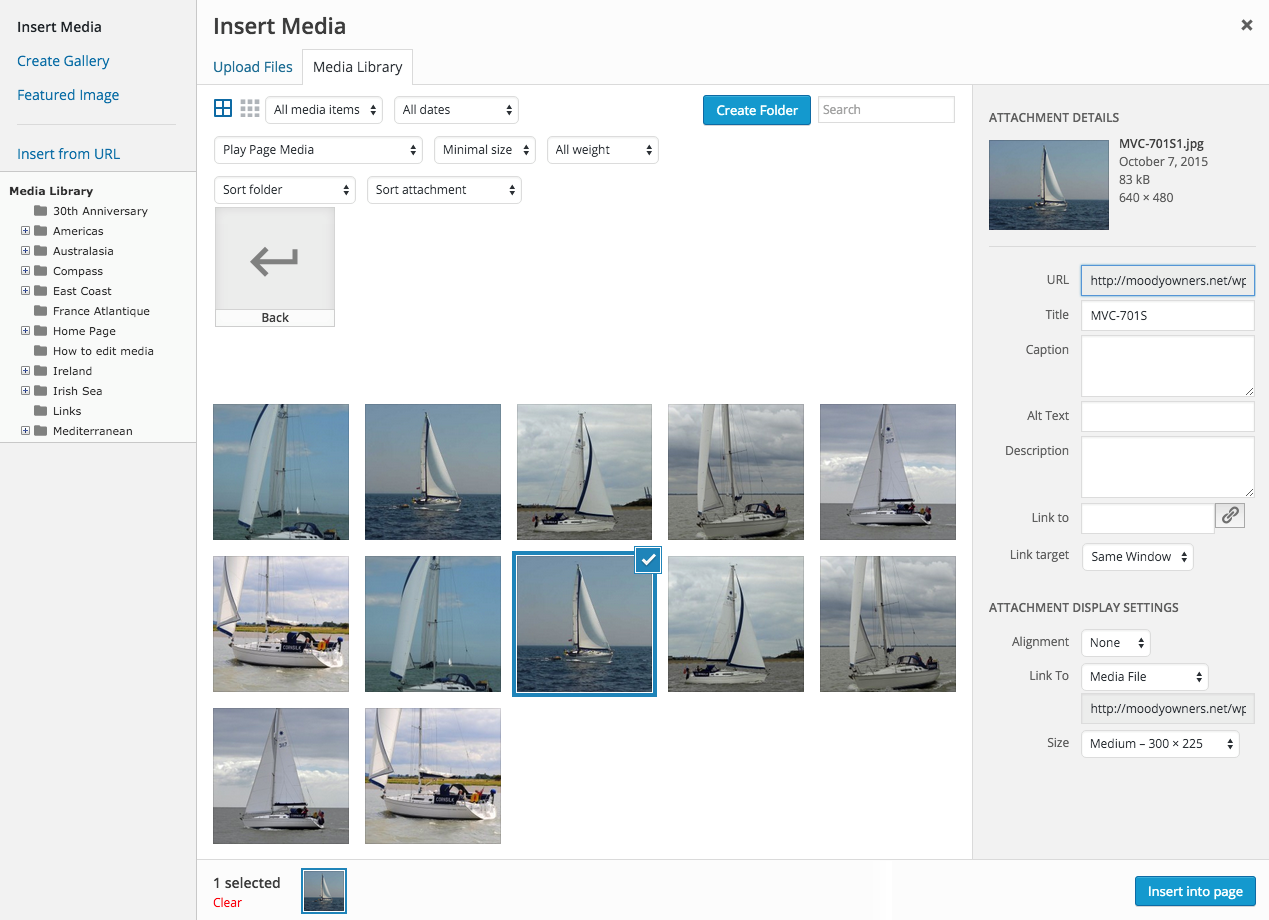
These are just thumbnails – to view each picture individually click on it – this produces a useful screen giving all sort of information about it,
Notice you can change the title of the picture, the URL tells you where it is on the server, you can make the picture link to somewhere else, but in the ALT Text which displays when the picture is hovered over, and lastly you can add a description
Notice it says “Uploaded by Admin” – when you do it it will be your name and this is important
Click the X on the top right to exit the screen
Back to the main Media screen – Play Page Media folder – notice the blue button “Create Folder”
This does exactly that and it is possible to drag pictures into that folder or into the tree folder structure at the side. This is really helpful and I have created some sub folders in Branch Media folders.
For example Solent Branch has the following – Documents, Mug Shots, Pictures 2015 and Pictures 2015, plus Solent Headers
All these enable a tidy organisation of media so you know where it is.
Using Pictures
Lets get back to the real world and find out how to upload and insert a picture into a page. We will use the Play Page for this
https://moodyowners.org/wp/play-page/
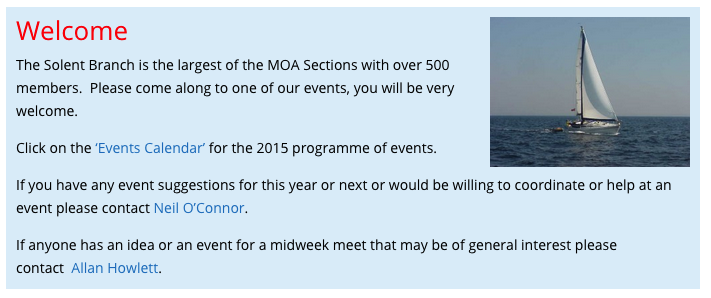
Lets put a picture into the Welcome Text module
![]() Click on the edit button for the Welcome Text module
Click on the edit button for the Welcome Text module
This brings you to the Edit screen with which I hope you are familiar
Scroll down so you can see the edit window within.
I want to put my picture on the right and alongside the top of the text, so the insertion point is vital here
Put your cursor to the left of the capital W of Welcome and click to see the a small vertical bar flashing (this is just like Word)
Then move your cursor up to the ADD MEDIA button and click
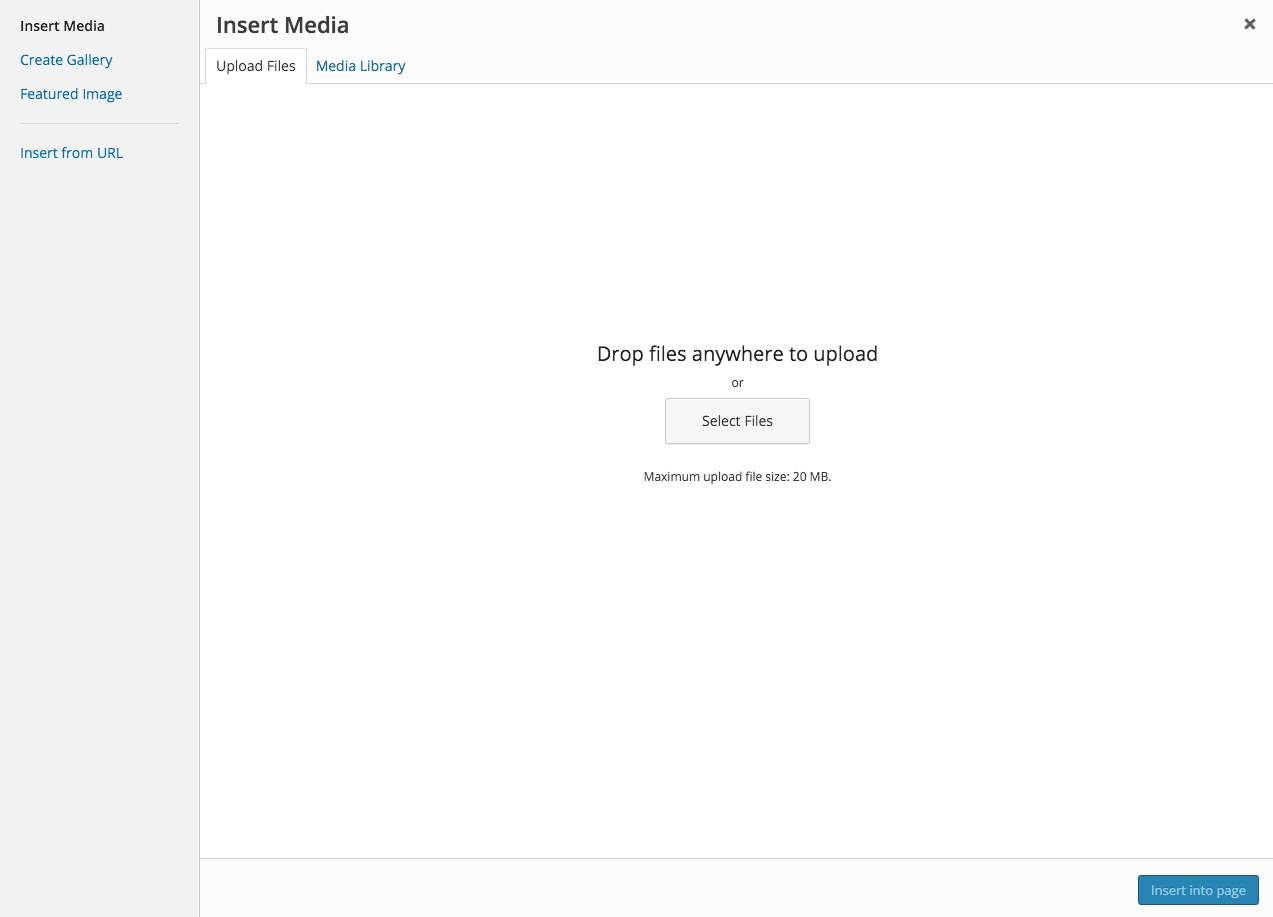
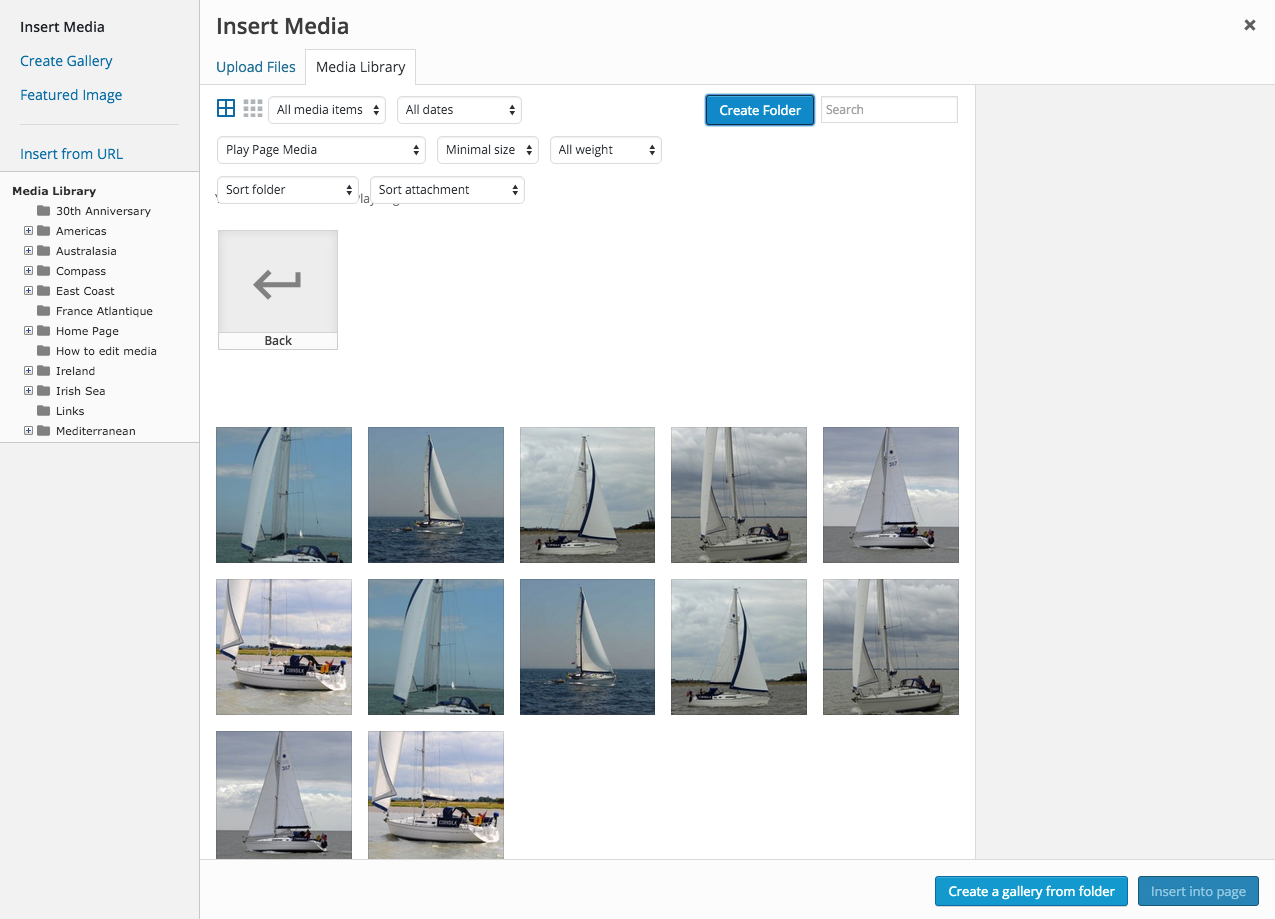
Not tremendously helpful – but notice the Upload Files Media Library tabs at the top, you just need to click Media Library to produce this screen
Click the Play Page Media icon to go to here
This is what we want. To add another picture is very simple. Open your computer FILE EXPLORER window to find the picture you want to upload on your computer.
This is the Apple Macintosh equivalent
If you have this window and the file upload window on your browser open at the same time – just drag the picture across from one to the other and the upload starts.
That is by far the easiest way of doing it – there are other ways but lets keep it simple. By the way you can drag multiple files across to upload – say you were doing a report of an event, and you had 6 pictures to insert, drag them all into the Media folder you want to use, allow them to upload, and they are then available for use further down the page you are editing.
Back to inserting the picture – now we have image MVC-701S1.jpg available – just click it and the blue button at the bottom of the window changes to Insert into Page – click that
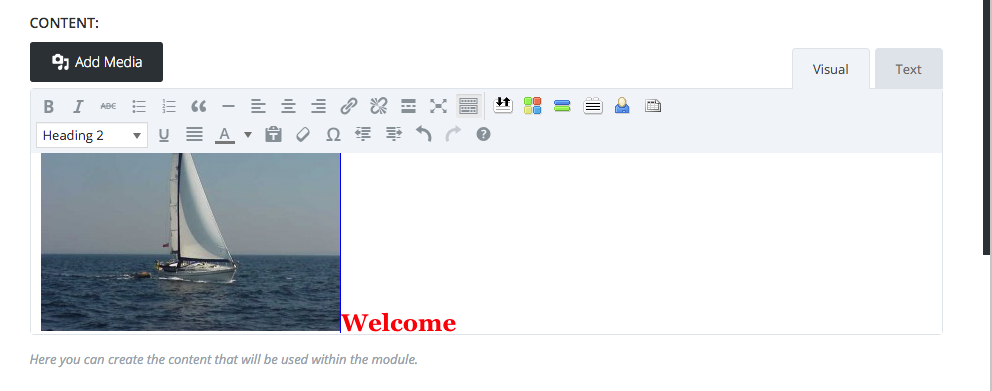
This is the edit window – the picture is in, now we need to put it in the correct place
Clicking the picture brings up the formatting options, currently the right option is selected – no formatting that is why it is in the wrong place.
Hover over the icons to see what they do. The 3rd from the left puts the image on the right and wraps the text round it. This is what we want. Click it
You can Save and Exit and Update the Edit Screen.
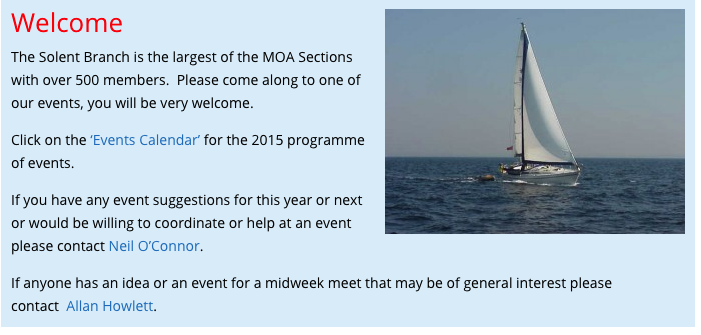
Press View Page to see the result
This is just what we wanted to see
If the picture is too large (not too small, you can’t make pictures bigger) or you want to crop it then click the picture and then little pencil icon
You can select the size of your picture, thumbnail, medium or full, of a custom size.
Clicking Custom size and changing the width to 200 px scales the picture thus
Actually that is better
Inserting Documents
This is just like any other media as above


